User management
User management is an important part of an application, where you can control users across all realms. With user management, you can create, modify and delete users, assign them to groups and manage their permissions. It provides centralized control over user access and authorization across your application. User management also allows you to assign and track a user's process roles, ensuring that proper access controls are in place.

IMPORTANT
Although a user doesn't need to belong to any group, each newly created user is automatically added to their own dedicated group. This is because, in some cases, users and groups can be used interchangeably (as an Actor). To maintain consistency across the cluster, a separate group is created for every new user.
Users
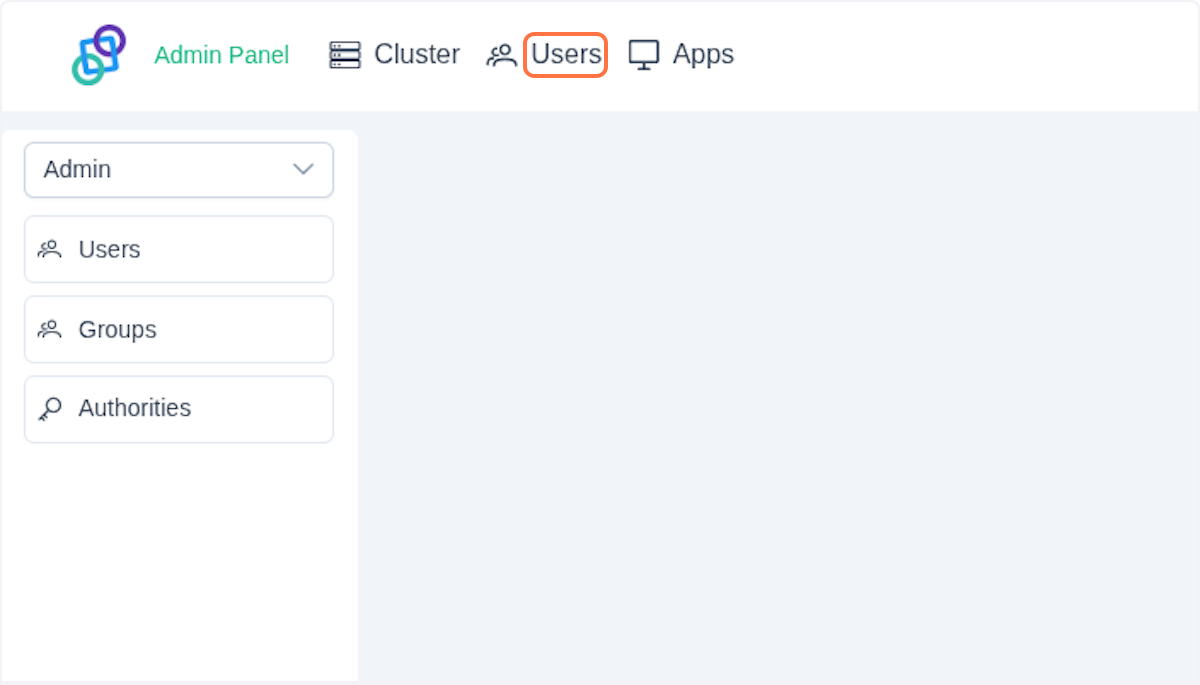
To view users, click on the Users button in the left menu section.
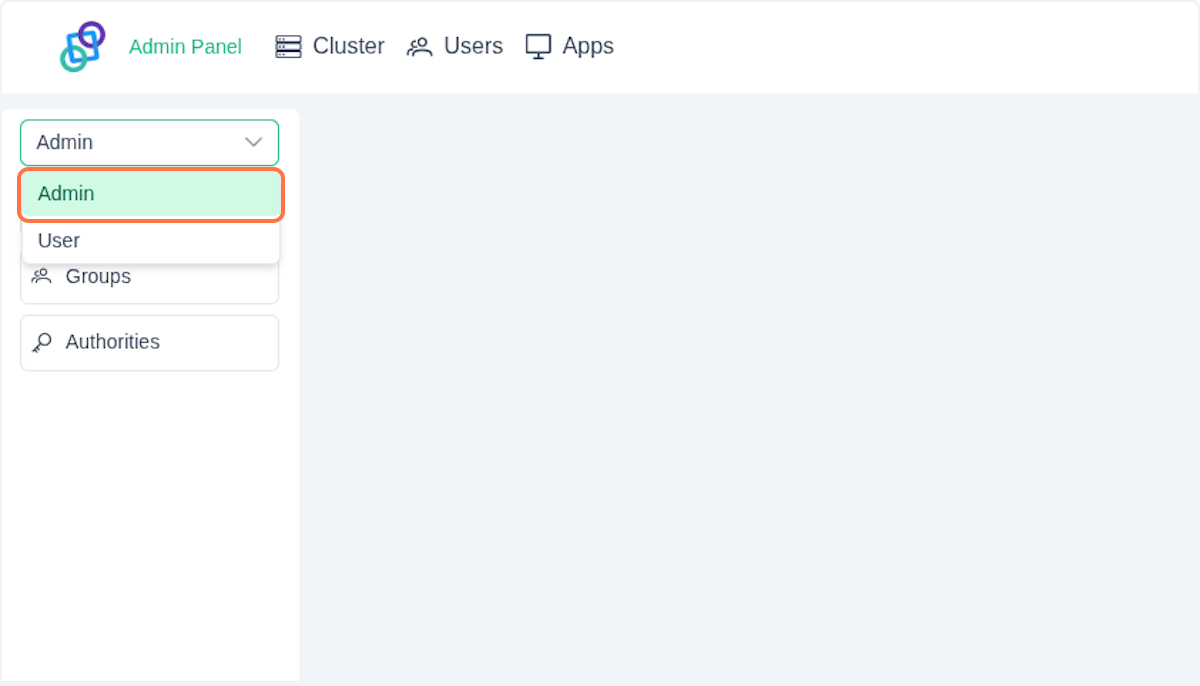
On the top of the left tab, you can see a dropdown menu. You can choose the Realm you want to currently manage.
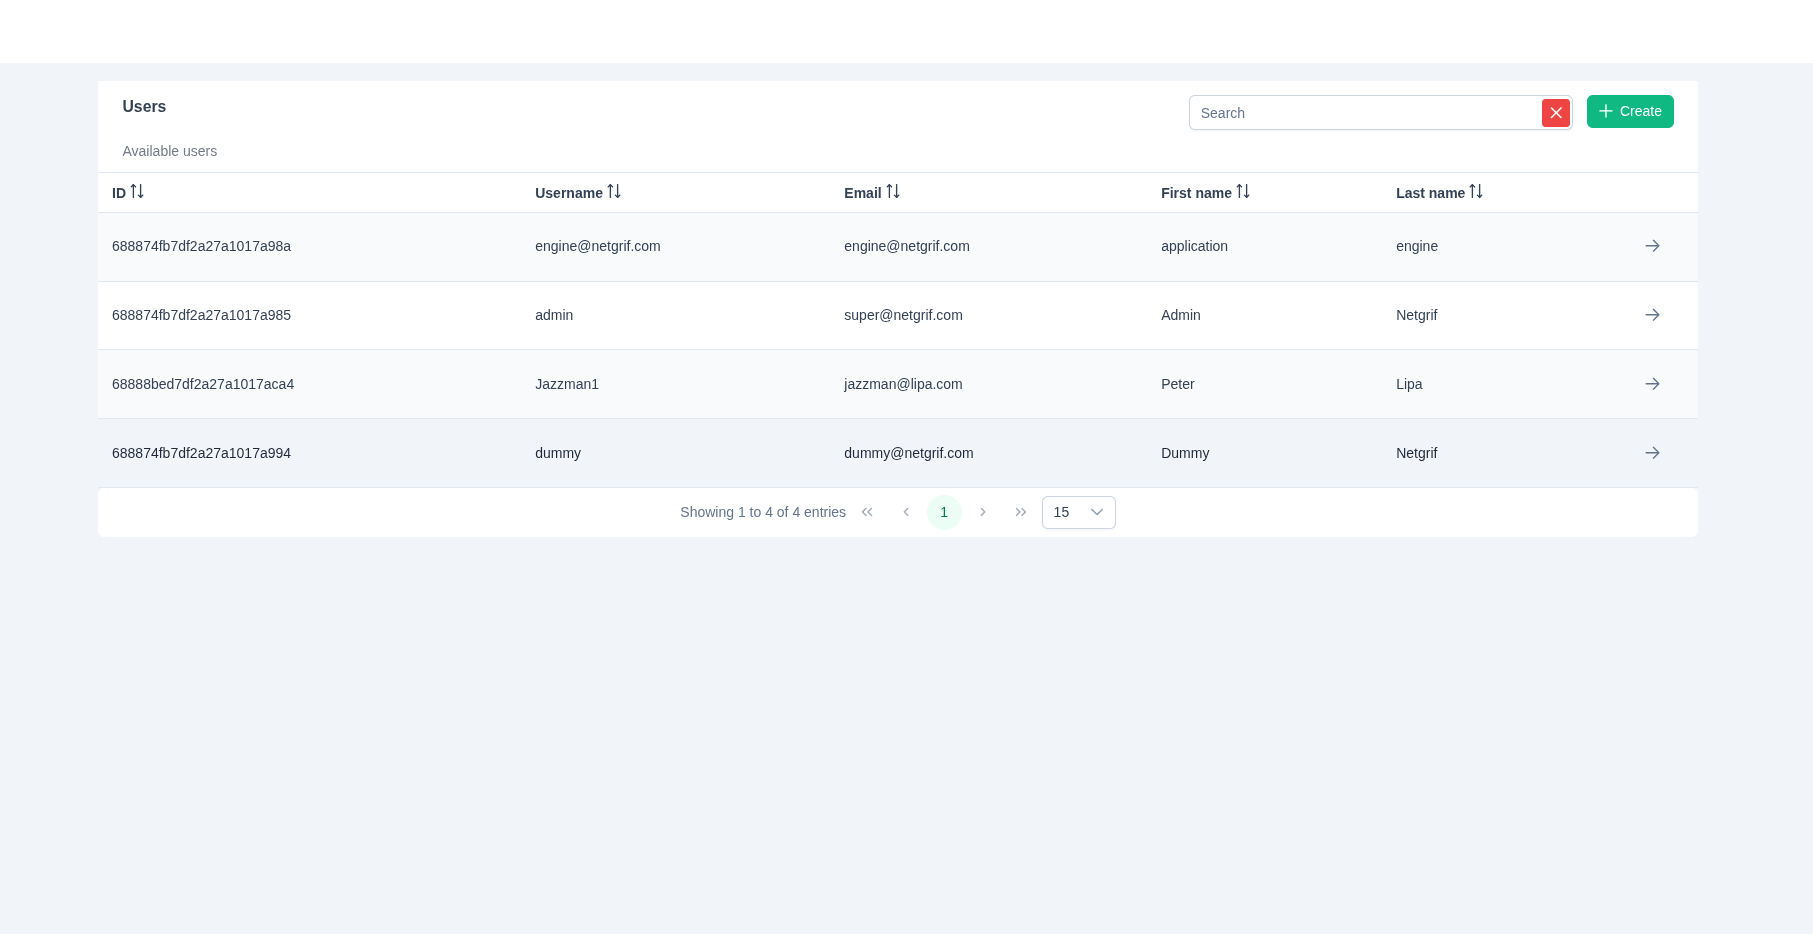
In the selected realm's view, you'll see a table (in this case, Users). This table displays all managed users that belong to the currently selected realm.
Create User
Click on Users tab to view all your users. Remember to verify that you selected the correct realm in the dropdown tab in the left menu. Then click on the Create button.
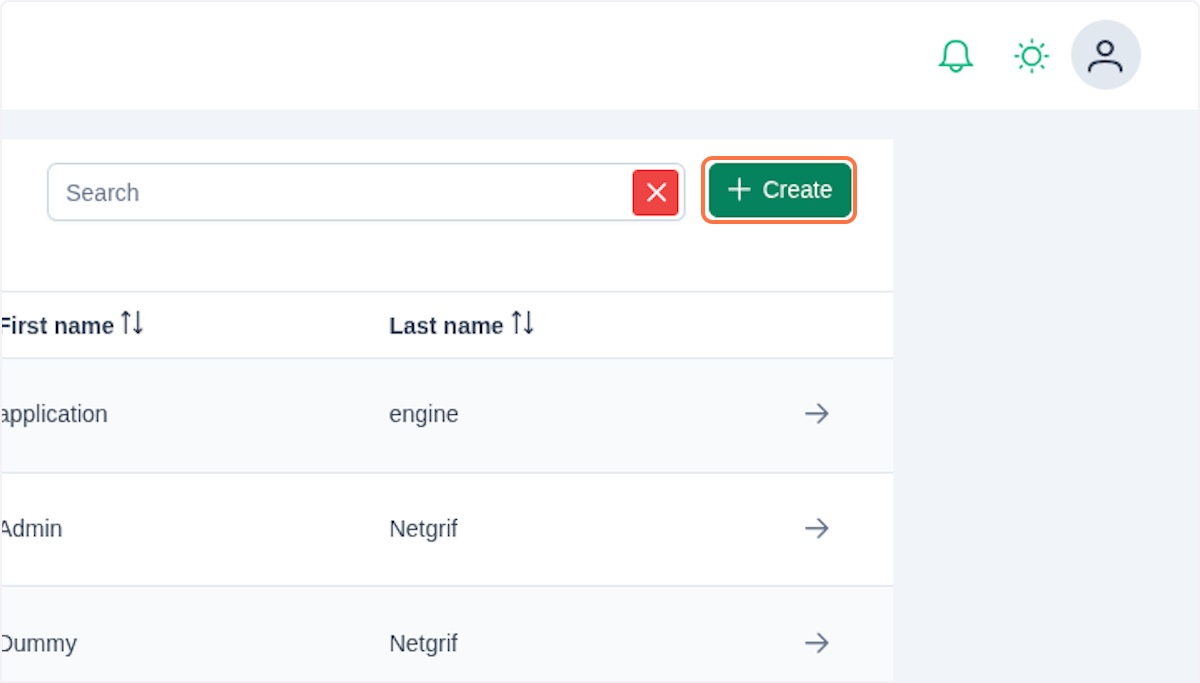
A new dialog window will appear where you can fill out the form.
Each newly created user must have:
- Username - Unique identifier for the user
- First Name - User's name
- Last Name - User's surname
- Email - Valid user's email address
- Password - Secure password that meets system requirements
- At least eight characters long
- Must contain at least one uppercase letter
- Must contain at least one lowercase letter
- Must contain at least one number
- Must contain at least one special character

You finish the creation of a new user by clicking on Confirm. The newly created user will be added to the table in Users tab.
Important
Users created in the Admin realm automatically receive administration privileges. In addition, they can access Admin web console, which allows them to access each node's REST API through the proxy, for example, to retrieve current logs in the Node view.
User Detail
By clicking the button in the table entry, you open the user detail view. The view is composed of two main panels. The first panel displays information about the user such as name, surname and email.
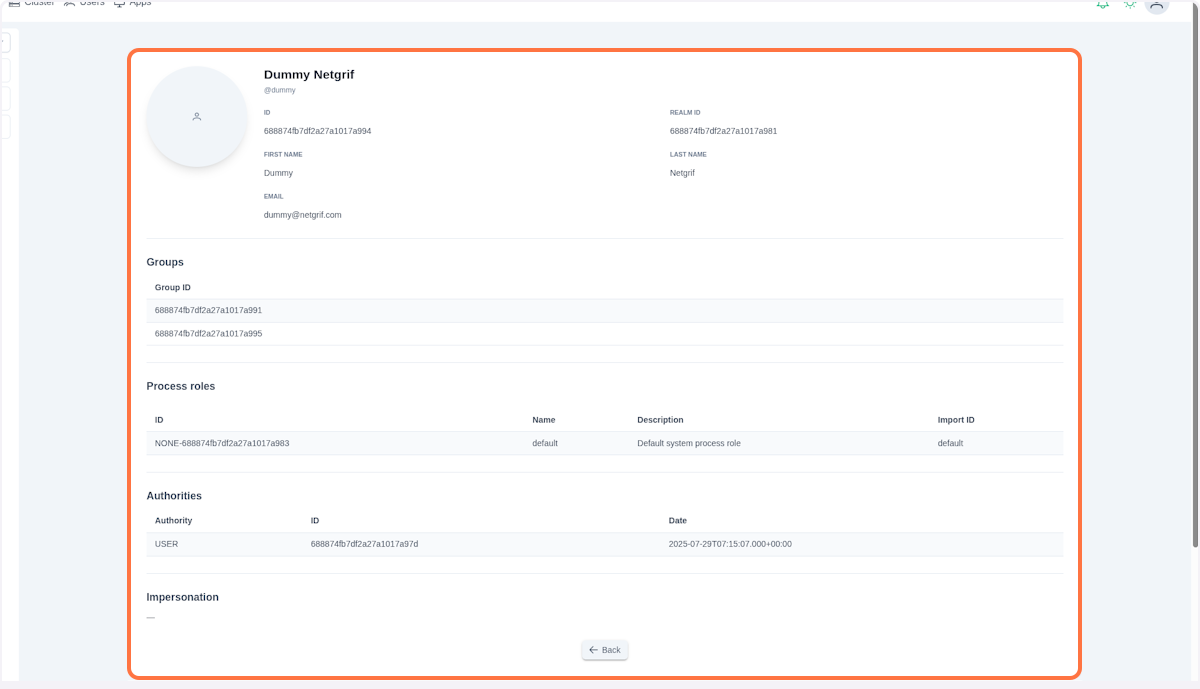
In the Groups section, you can see the IDs of the groups the current user belongs to. By being a member of these groups, the user inherits all authorities and process roles assigned to them, enabling efficient access-rights management for multiple users at once.
In the Process roles section, you can see all process roles assigned to the user. Process roles define what the user is allowed to do within specific processes. For example, a user might have roles such as Customer, Manager, or Salesman in different processes.
The last section in this panel is Authorities. Authorities represent system-level permissions that determine which actions an actor can perform within the application. These may include permissions such as USER or ADMIN. The combination of assigned authorities directly controls which features and functionalities the user can access, for example, calling an integration endpoint.
NOTE
User's profile picture is loaded from the Admin Node User database. If no picture was found there, the image is retrieved from Gravatar. If no Gravatar image exists, a default user icon with a white background is used.
Assign role
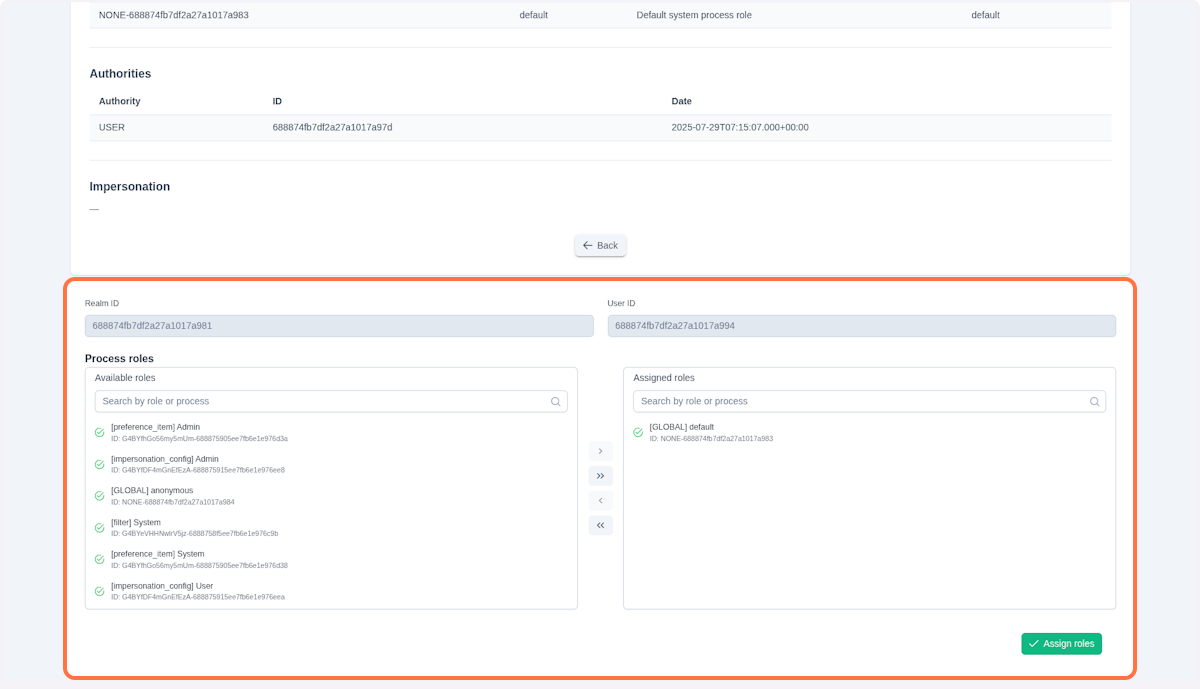
In the section below the described user's information, you can manage process roles. All available roles are listed in the left panel.
NOTE
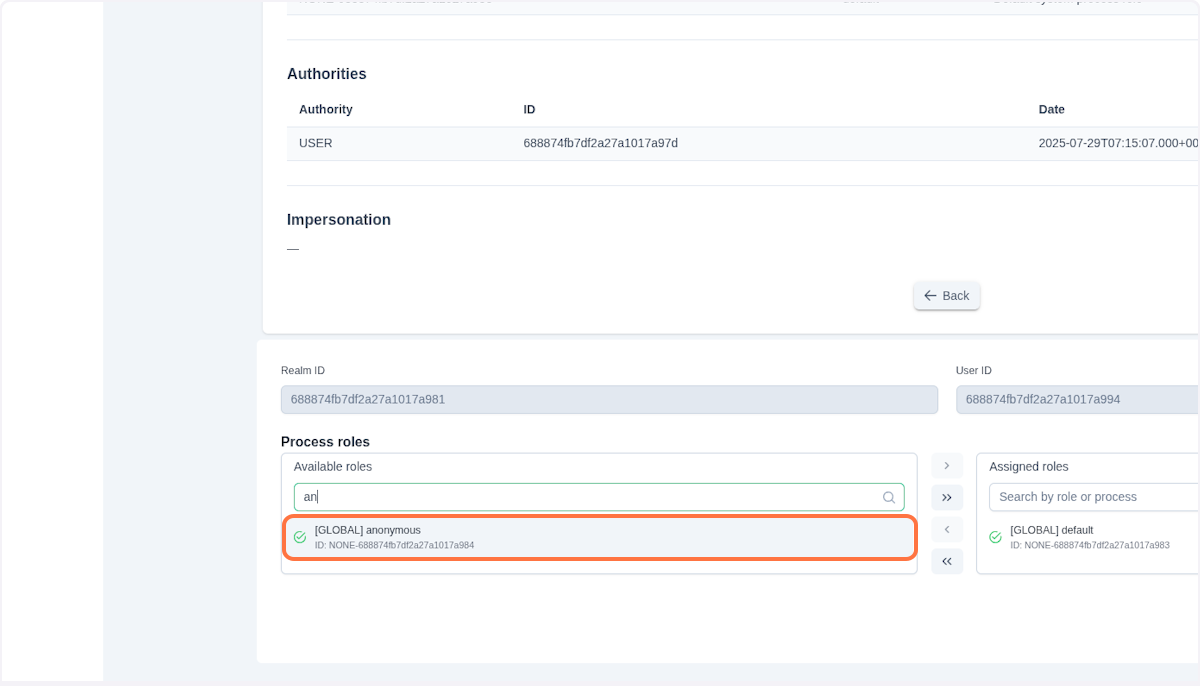
There are two types of process roles: Global and Process-bound.
You can distinguish them based on the keyword in the brackets. While the Global roles contain a keyword [GLOBAL], the Process-bound always contain process identification of the process they are bound to, i.e [preference_item]. Moreover, the Global roles don't contain short ID, they contain the NONE keyword instead.
{
"globalRole": "NONE-688874fb7df2a27a1017a983",
// Short ID: NONE
"processRole": "G4BYeVHHNwlrV5jz-6888758f5ee7fb6e1e976c9b",
// Short ID: G4BYeVHHNwlrV5jz
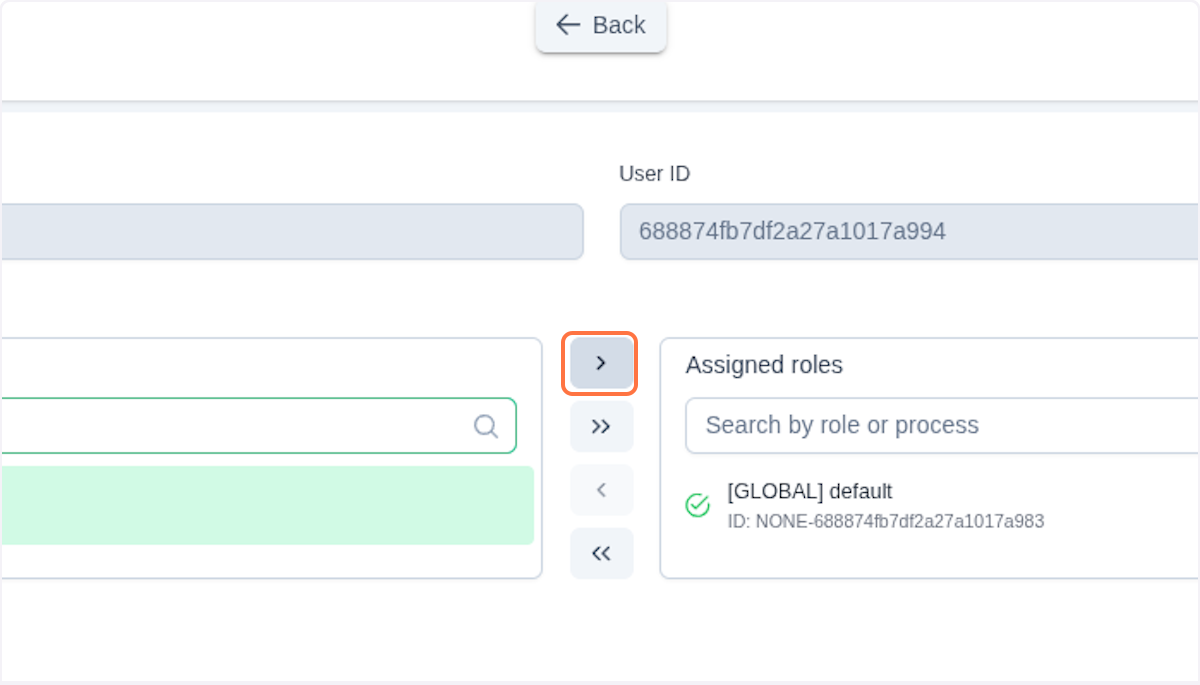
}Select the process role you want to assign to the user by clicking on the entry in the left column. You can always search for the desired role by typing its name, process identifier or ID in the search field.
By clicking on , you move the role to the right column. To move all roles in the left column to the right one at once, click . This is especially useful when you assign all roles of a process to a user.
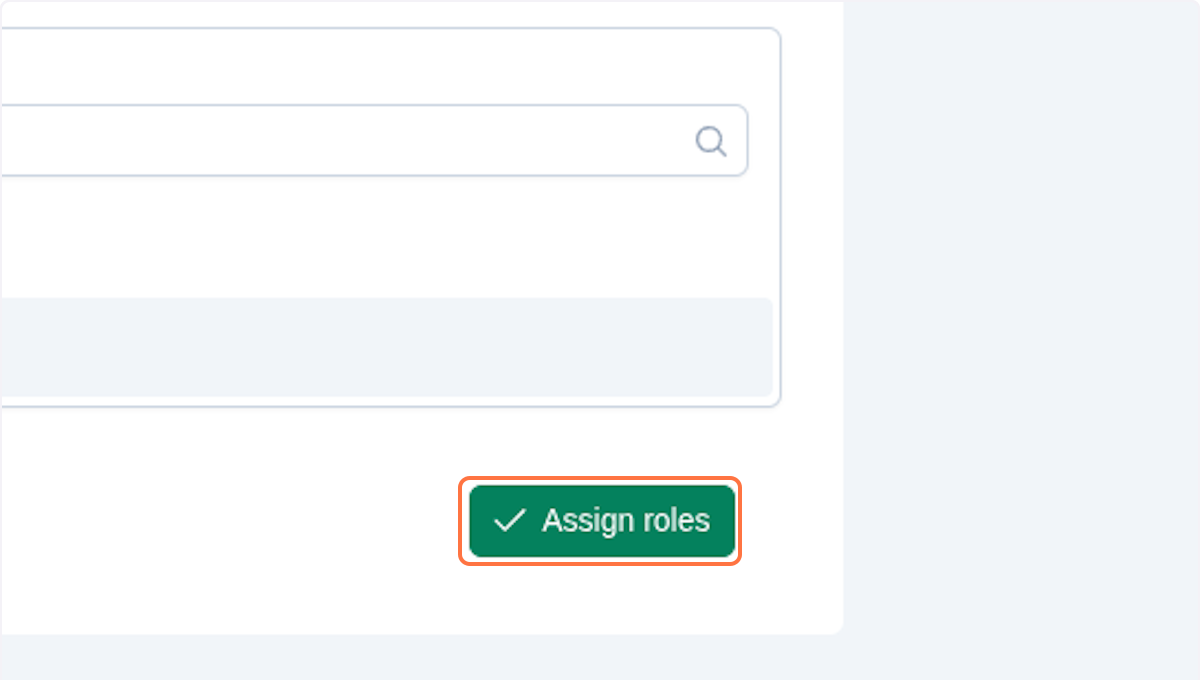
Remember to confirm your changes by clicking on Assign roles.
NOTE
You can also assign roles by dragging them from the left column to the right column.
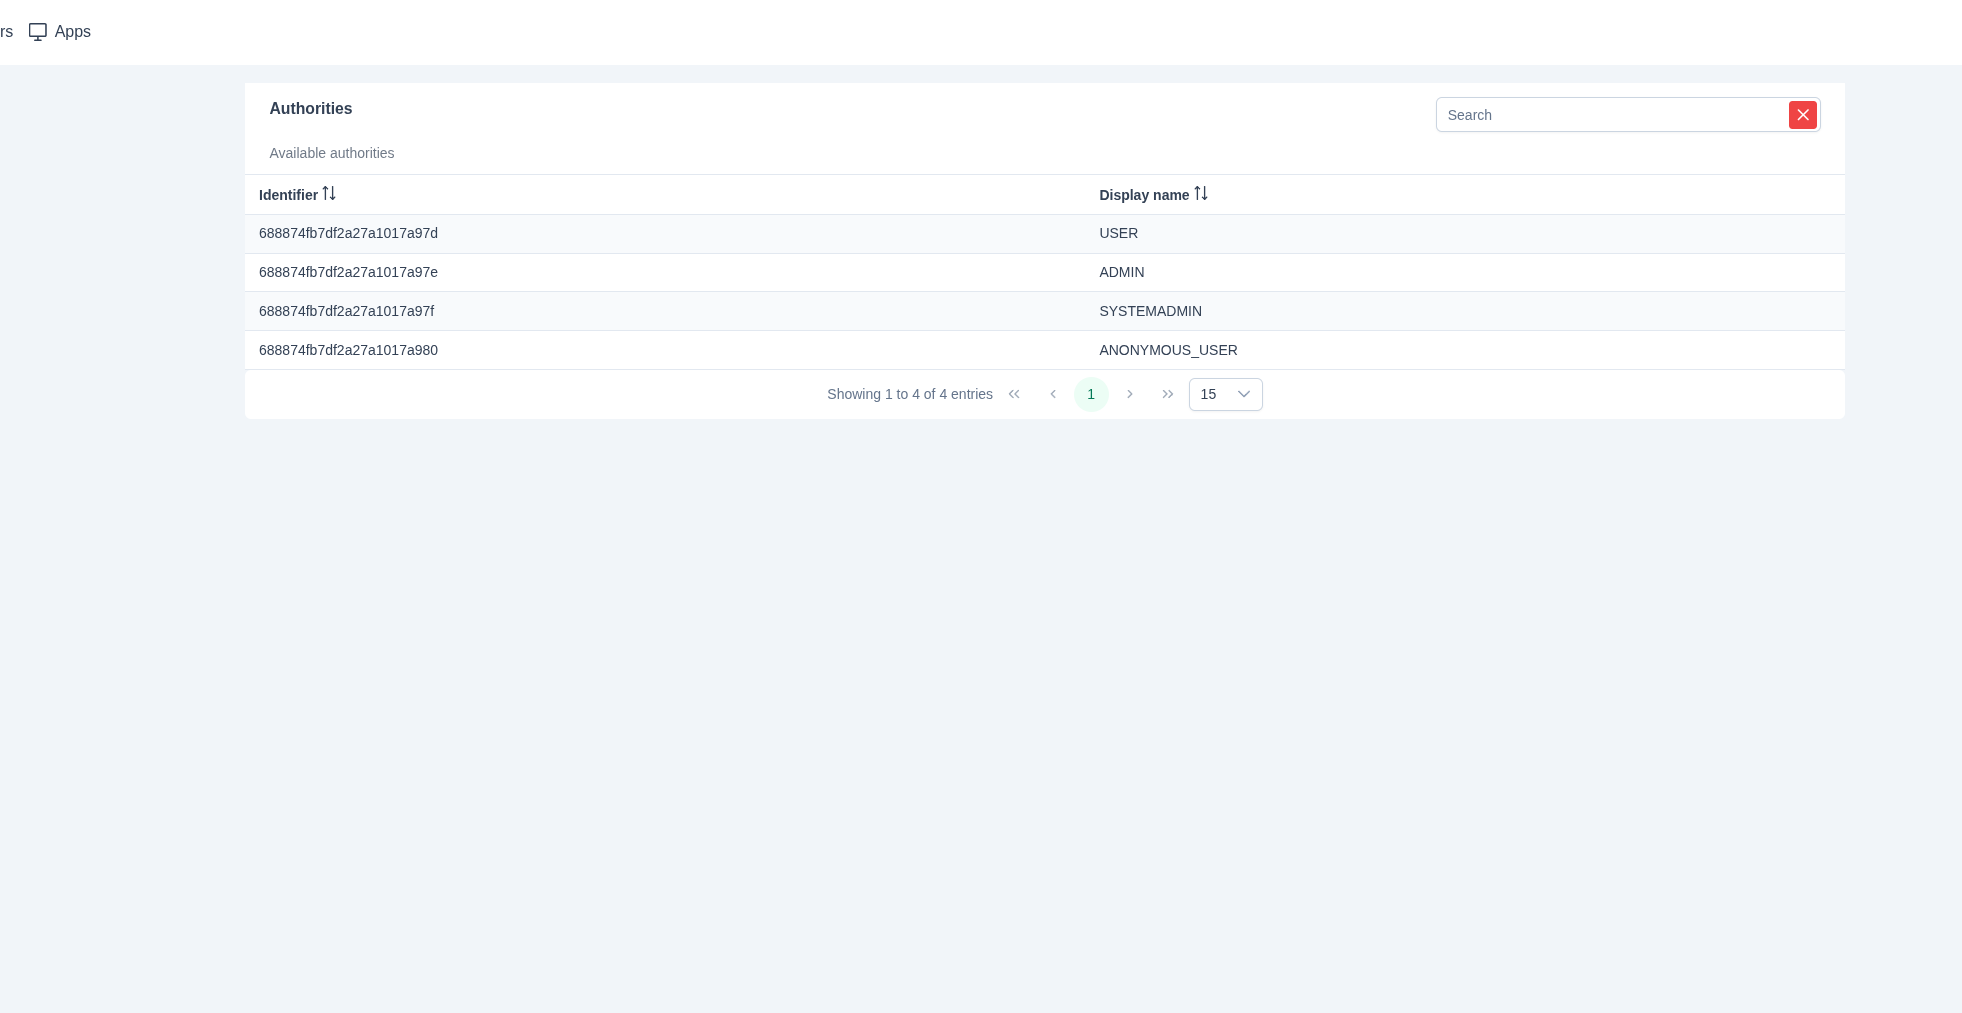
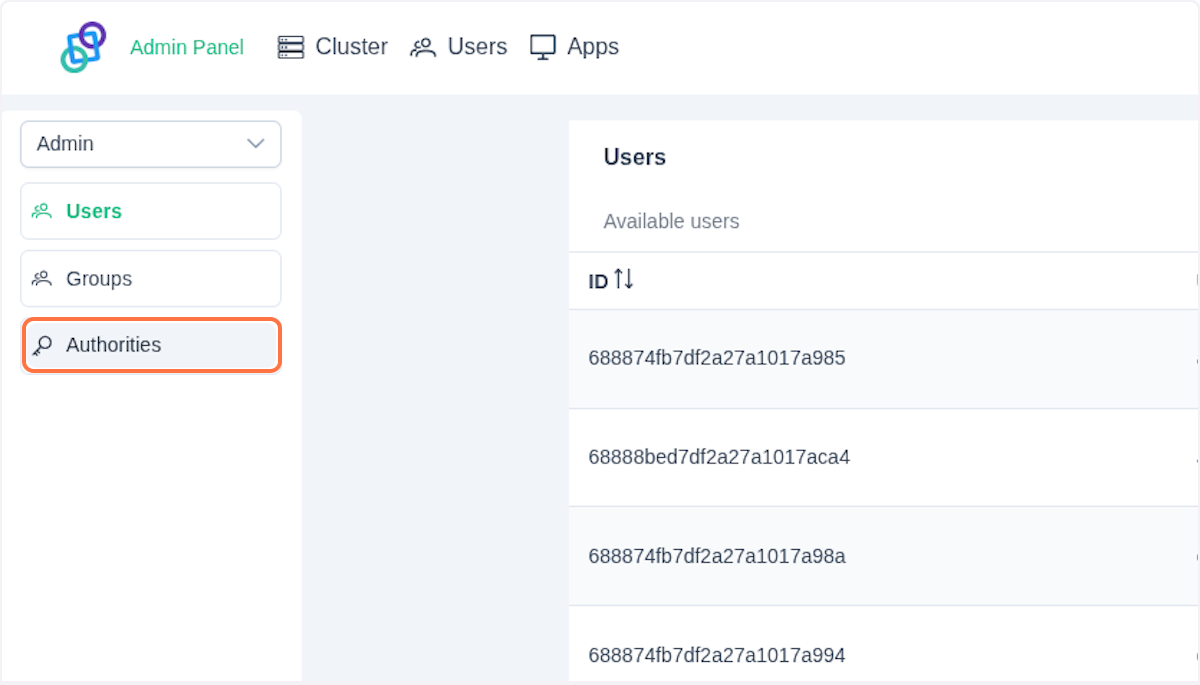
Authorities
In the Authorities tab, you can find a list of all authorities currently configured in the system.
Authorities define system-level permissions that control which actions users and groups can perform within the application. Common examples include:
- ADMIN - Administrative access permissions
- ANONYMOUS_USER - Permissions to access public endpoints
- SYSTEMADMIN - System-level operation permissions
- USER - Basic user access permissions
IMPORTANT
For security reasons, authorities cannot be created or modified through the user interface. New authorities can only be added programmatically through the application code. This restriction is a security measure to prevent unauthorized creation or modification of system-level permissions that could potentially compromise the application's security.
NOTE
Authorities are inherited. If a user belongs to a group that has certain authorities, the user automatically receives the authorities. This enables efficient permission management across many users.